用途
Stable Diffusion 是什么?简单来说:「人工智能,图片生成」。
网络上到处都是生成漂亮小姐姐画像的内容 (是的,我也第一次生成时也是这样,效果很惊艳),这本身没什么对错,但 Stable Diffusion 的用途远不止于此,只要使用得当,你甚至还可以用它:
-
替换图中元素
-
改变图像风格
-
修正肢体错误
-
扩展图片内容
-
增加图片细节
-
放大图片尺寸
-
制作海报背景
-
制作图标
-
等
这么厉害的工具,是不是已经迫不及待想要试试了?
安装
要安装 Stable Diffusion 其实有很多种办法,难易程度和功能特性也都有所不同。
macOS (包括 Apple Silicon)
这里有一些简单选项可以快速体验 AI 生成图片的乐趣
-
Draw Things 简单的应用
-
Diffusers 甚至更加简单
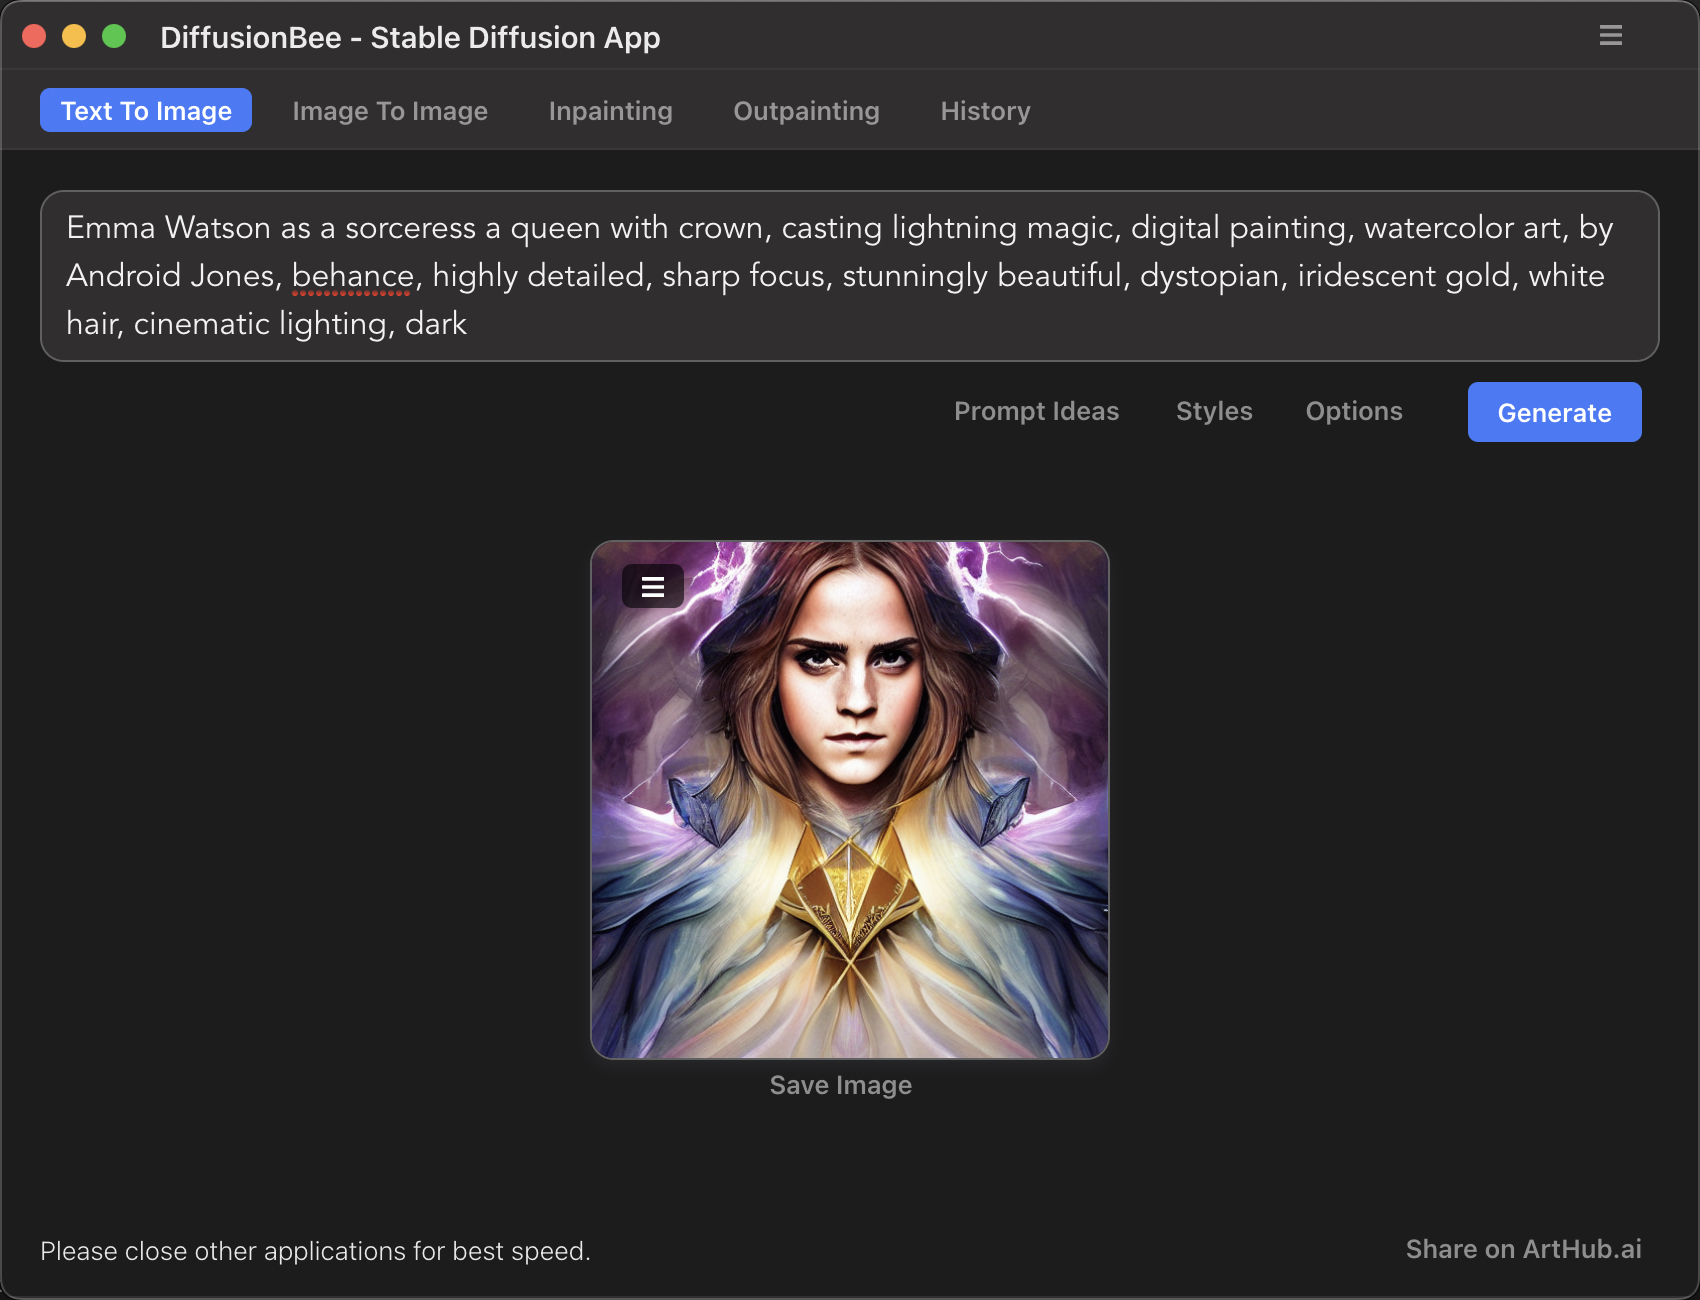
DiffusionBee
DiffusionBee 可能是最简单的安装方式了。
-
步骤 1: 到 DiffusionBee 的下载页下载对应的安装器,你会得到一个
.dmg文件 -
步骤 2: 打开
.dmg文件,像市面上很多应用一样,直接把.app拖动到Applications目录中 -
步骤 3: 在 LaunchPad 中找到并运行 DiffusionBee
怎么样,够不够简单!只可惜下载速度比较感人。
另外,首次运行时会下载一些模型,也可能会花点时间。
AUTOMATIC1111 WebUI
AUTOMATIC1111 WebUI 是一个功能更加丰富但相对来说略安装略有难度的方案。
|
Note
|
注意: 在 Apple Silicon 芯片的设备上,目前通过 GPU 生成图片还存在许多问题,因此默认是使用 CPU 来处理的,当然,这也意味着速度会比较慢,而且可能会占用资源导致设备出现一定的发热、卡顿等现象。 |
首先,你需要在你的 macOS 中安装 Homebrew,你需要打开 Terminal (终端) 并输入下面的指令后回车:
/bin/bash -c "$(curl -fsSL https://raw.githubusercontent.com/Homebrew/install/HEAD/install.sh)"但如果成功安装 Homebrew,接下来就要安装一些必要的依赖:
brew install cmake protobuf rust python@3.10 git wget现在我们就可以克隆 AUTOMATIC1111 WebUI 的 Github 仓库了:
git clone https://github.com/AUTOMATIC1111/stable-diffusion-webui在默认情况下,你的 Terminal 工作目录是你当前用户的 Home 目录 (~),所以 ~ 目录下会出现一个名为 stable-diffusion-webui 的新目录。
现在,我建议你下载 这个 v1.5 模型 并放在 stable-diffusion-webui 目录中的 models/Stable-diffusion 目录下。更多关于模型的信息可以参考后面的 Models 模型 部分。
接着,我们运行 WebUI:
cd ~/stable-diffusion-webui
./webui.sh
首次运行会比较慢,因为过程中需要下载和安装一些其他工具。
等待全部完成后,会出现提示:
Running on local URL: http://127.0.0.1:7860根据提示我们可以在浏览器中访问 http://127.0.0.1:7860/ 来使用 WebUI。
安装 Homebrew 失败怎么办
安装 Homebrew 这一步因为要访问 Github,所以如果网络环境不理想,可能会超时。这种情况只能切换网络环境,或使用加速器、VPN 等工具改善。
Homebrew 安装依赖时也可能会比较慢,需要耐心等待。
安装 GFPGAN 失败怎么办
简单,手动克隆 GFPGAN 到 stable-diffusion-webui/venv/Scripts 目录中,克隆完成后会在该 Scripts 目录中出现 GFPGAN 目录。
完成后,安装 GFPGAN 的依赖:
cd ~/stable-diffusion-webui/venv/Scripts/GFPGAN
~/stable-diffusion-webui/venv/bin/python -m pip install basicsr facexlib
~/stable-diffusion-webui/venv/bin/python -m pip install -r requirements.txt
~/stable-diffusion-webui/venv/bin/python setup.py develop
安装 open_clip 失败怎么办
类似的,我们也需要手动克隆 open_clip。
|
Note
|
注意: 这里克隆的是 |
cd ~/stable-diffusion-webui/venv/Scripts/open_clip
~/stable-diffusion-webui/venv/bin/python setup.py build install
Windows
|
Note
|
注意: 你的 PC 需要运行 Windows 10 或更高版本的系统,并且至少有一张独立 Nvidia 显卡以及 4GB 以上显存。集成显卡可能还无法支持。显存较低的情况下,及时安装成功,也不足以进行生成操作,只会不断地报错。 作为替代方案,你可以是尝试使用 Google Colab 来进行云端安装使用。 |
在这里我们也以 AUTOMATIC1111 WebUI 为例。
首先,你需要下载并安装 Python,比如 Python 3.10.6。
下载完成后运行下载的安装程序,勾选 Add Python 3.10 to PATH 并选择 Install Now (立即安装)。
|
Note
|
注意: 安装时一定要勾选 |
接下来安装 Git 的 Windows 版本。安装过程比较简单,如果你不清楚选项是什么意思,直接使用默认选项即可。
接下来打开 CMD 或 PowerShell,选择一个你中意的目录,比如用户主目录:
cd %userprofile%或者 D 盘:
D:我们以用户主目录为例,克隆 WebUI 仓库:
git clone https://github.com/AUTOMATIC1111/stable-diffusion-webui.git克隆成功后会出现一个名为 stable-diffusion-webui 的新目录,你可以通过资源管理器访问,如果实在找不到,就在路径栏输入 %userprofile% 后回车即可。
现在,我建议你下载 这个 v1.5 模型 并放在 stable-diffusion-webui 目录中的 models/Stable-diffusion 目录下。更多关于模型的信息可以参考后面的 Models 模型 部分。
接着,我们运行 WebUI:
%userprofile%\stable-diffusion-webui
.\webui-user.bat
首次运行会比较慢,因为过程中需要下载和安装一些其他工具。
等待全部完成后,会出现提示:
Running on local URL: http://127.0.0.1:7860根据提示我们可以在浏览器中访问 http://127.0.0.1:7860/ 来使用 WebUI。
安装 GFPGAN/CLIP 失败怎么办
与上文介绍的 macOS 安装中出现此类问题的解决方案大同小异,需要修改的是:
工作目录路径,以 GFPGAN 为例:
# cd ~/stable-diffusion-webui/venv/Scripts/GFPGAN
%userprofile%\stable-diffusion-webui\venv\Scripts\GFPGAN\
和 venv 环境中 Python 路径:
# ~/stable-diffusion-webui/venv/bin/python
%userprofile%\stable-diffusion-webui\venv\Scripts\python.exe
Linux
首先安装必要的工具:
# Debian-based:
sudo apt install wget git python3 python3-venv
# Red Hat-based:
sudo dnf install wget git python3
# Arch-based:
sudo pacman -S wget git python3
现在假设我们要安装到 /home/$(whoami)/stable-diffusion-webui/ 目录:
bash <(wget -qO- https://raw.githubusercontent.com/AUTOMATIC1111/stable-diffusion-webui/master/webui.sh)全部完成后就可以进行了。
/home/$(whoami)/stable-diffusion-webui/webui.shGPU 错误
如果一直有 GPU 方面的错误,也可以选择用 CPU 进行处理,方法是启动时添加 (或在 modules/launch_units.py 中 搜索 COMMANDLINE_ARGS 并添加) --skip-torch-cuda-test 选项。
/home/$(whoami)/stable-diffusion-webui/webui.sh --skip-torch-cuda-testNot implemented for Half
此类问题请在启动时添加 (或在 modules/launch_units.py 中 搜索 COMMANDLINE_ARGS 并添加) --precision full --no-half 选项。
/home/$(whoami)/stable-diffusion-webui/webui.sh --precision full --no-half使用
生成图片最简单的过程,就是输入 Prompt (提词/关键词)、设定尺寸等信息,然后点击 Generate (生成) 然后等待完成即可。
运行重启与别名
|
Warning
|
注意: 在启动 WebUI 时,不要使用 VPN 或其他形式的网络代理,否则可能会无法启动。如果需要使用代理,可以在启动完成后再进行。 |
停止运行直接按下 CTRL + C 即可,此后运行和重启的命令其实也还是前面安装完成后运行的命令,但方便起见,你也可以添加别名,例如我希望以后只需要输入命令 ai 即可启动 Stable Diffusion:
macOS/Linux
在 macOS/Linux 中,编辑 ~/.zshrc (如果你是用的是其他 SHELL 则编辑对应的 rc 文件) 并加入:
alias ai="cd ~/stable-diffusion-webui/;~/stable-diffusion-webui/webui.sh"Windows
在 Windows 中,首先打开 PowerShell 并执行 echo $PROFILE,系统会输出 PROFILE 文件的路径,一般是:
C:\Users\你的用户名\Documents\WindowsPowerShell\Microsoft.PowerShell_profile.ps1当然,如果这个目录和文件不存在,你可以手动新建一个。
在文件中加入:
function ai {
    %userprofile%\stable-diffusion-webui
    %userprofile%\stable-diffusion-webui\webui-user.bat
}
汉化
Models 模型
你至少应该下载一个 Model (模型),比如 v1.5 Model,你可以点击这个 这里 下载。
下载好的模型要放在 stable-diffusion-webui 目录中的 models/Stable-diffusion 目录下。
你也可以在 CIVITAL 或 HUGGINFACE 下载其它模型,例如比较优秀的 Anything、Chillout、DreamShaper 等,你只需要选择 .ckpt 或 .safetensors 格式的文件下载即可。
有的模型还需要配合一个同名的 .yml/.ymal 格式的 Config 文件使用。
如果你下载的模型使用时一直报错,你也可以尝试 pruned 版本。
Prompt 提词/关键词
Prompt 是 Stable Diffusion 使用中非常重要的一环,好的 Prompt 是生成好图片的首要和关键,它应该包含:
-
Subject 主体
-
Medium 媒介材料
-
Style 风格
-
Artist 艺术家
-
Website 网站
-
Resolution 分辨率
-
Additional details 附加细节
-
Color 颜色
-
Lighting 光影
Subject 主体
主体是必不可少的元素,例如:
a queen with crown, casting lightning magic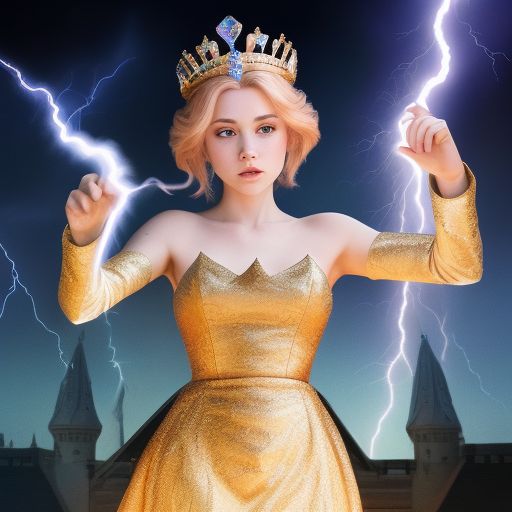
你想要哈利波特里的 Emma Watson 来扮演吗?
Emma Watson as a sorceress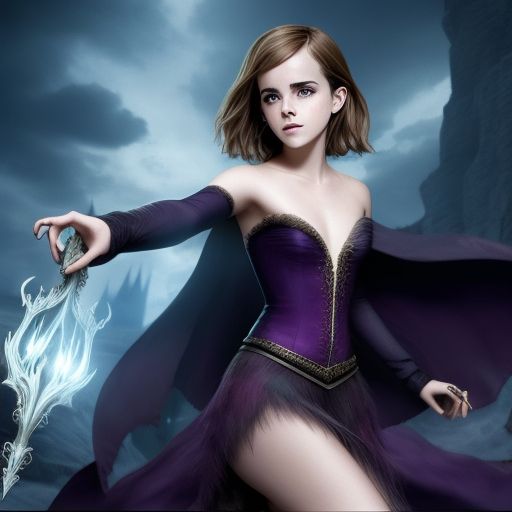
Medium 媒介材料
2D?3D?雕塑?全身照?这些信息也很重要,我们来试试数字媒体:
Emma Watson as a sorceress a queen with crown, casting lightning magic, digital paintingStyle 风格
写实?超现实?幻想?立体派?告诉 AI 你想要的风格,比如水彩:
Emma Watson as a sorceress a queen with crown, casting lightning magic, digital painting, (realistic, photo-realistic:1.37), physically-based rendering, good anatomy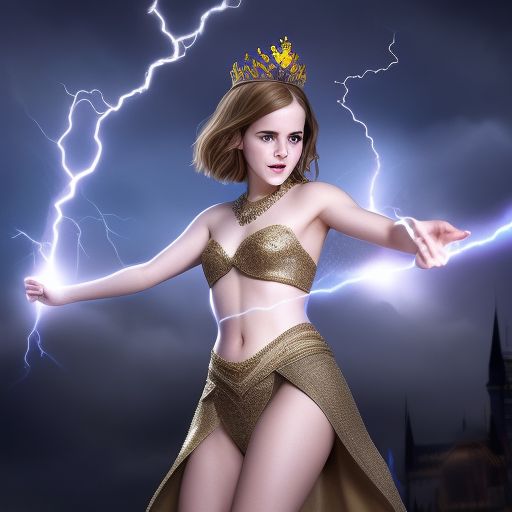
Artist 艺术家
当然,如果有你喜欢的艺术家,你也可以试试套用他们的风格,我比较喜欢 Android Jones:
Emma Watson as a sorceress a queen with crown, casting lightning magic, digital painting, (realistic, photo-realistic:1.37), physically-based rendering, good anatomy, by Android Jones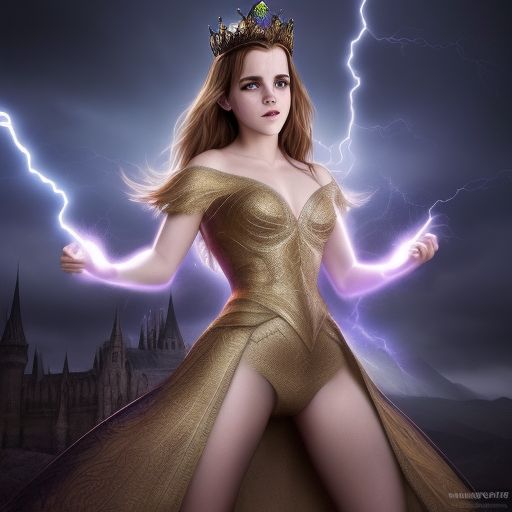
Website 网站
比如你想要 Behance 风格的图片:
Emma Watson as a sorceress a queen with crown, casting lightning magic, digital painting, (realistic, photo-realistic:1.37), physically-based rendering, good anatomy, by Android Jones, behance
Resolution 分辨率
想要很多细节吗?
Emma Watson as a sorceress a queen with crown, casting lightning magic, digital painting, (realistic, photo-realistic:1.37), physically-based rendering, good anatomy, by Android Jones, behance, highly detailed, sharp focus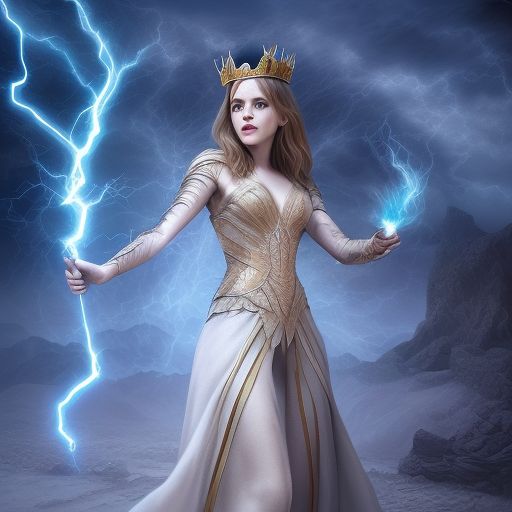
Additional details 附加细节
再加一点润色:
Emma Watson as a sorceress a queen with crown, casting lightning magic, digital painting, (realistic, photo-realistic:1.37), physically-based rendering, good anatomy, by Android Jones, behance, highly detailed, sharp focus, stunningly beautiful, dystopian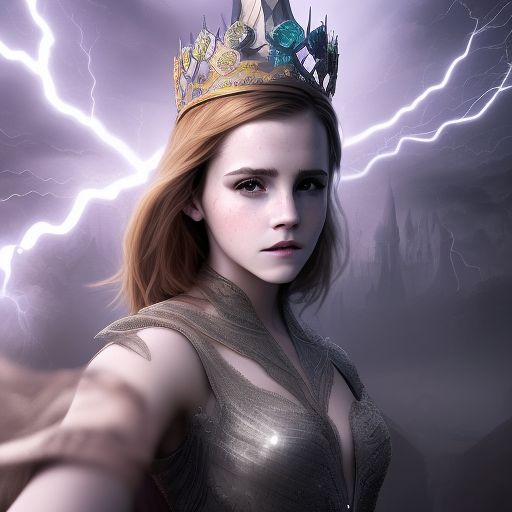
Color 颜色
金色的图像配上白色的头发会不会很漂亮呢?
Emma Watson as a sorceress a queen with crown, casting lightning magic, digital painting, (realistic, photo-realistic:1.37), physically-based rendering, good anatomy, by Android Jones, behance, highly detailed, sharp focus, stunningly beautiful, dystopian, iridescent gold clothes, (((white hair)))
Lighting 光影
电影般的光影:
Emma Watson as a sorceress a queen with crown, casting lightning magic, digital painting, (realistic, photo-realistic:1.37), physically-based rendering, good anatomy, by Android Jones, behance, highly detailed, sharp focus, stunningly beautiful, dystopian, iridescent gold clothes, (((white hair))), cinematic lighting, dark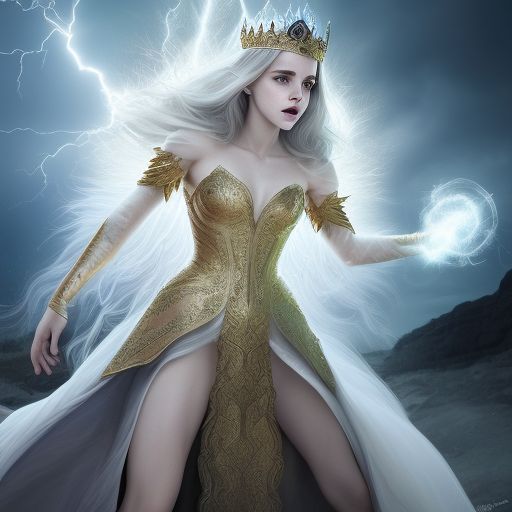
Emma Watson as a sorceress a queen with crown, casting lightning magic, digital painting, (realistic, photo-realistic:1.37), physically-based rendering, good anatomy, by Android Jones, behance, highly detailed, sharp focus, stunningly beautiful, dystopian, iridescent gold clothes, (((white hair))), cinematic lighting, dark, ultra-detailed, beautiful detailed sky, professional lighting, photon mapping, radiosity, night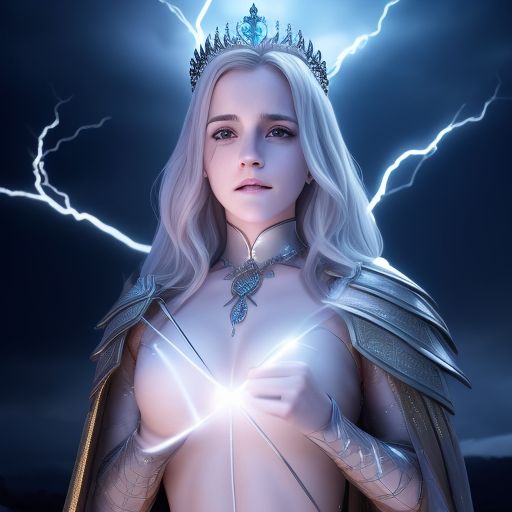
Negative Prompt 否定提词
其实上面的图片已经很不错了,但是有时候,你可能还想反过来告诉 AI 画面里不要出现什么,这时候就是 Negative Prompt 发力的时刻了。
ugly, tiling, poorly drawn hands, poorly drawn feet, poorly drawn face, out of frame, extra limbs, disfigured, deformed, body out of frame, bad anatomy, watermark, signature, cut off, low contrast, underexposed, overexposed, bad art, beginner, amateur, distorted face, blurry, draft, grainy
Prompt weight 提词权重
增加或降低权重可以通过使用 (提词)/[提词] 来实现,例如:
iridescent gold, (white hair), ((cinematic lighting)), (((dark))), (stunningly beautiful:1.73), [dystopian], [[sharp focus]], [[[casting lightning magic]]](提词)/提词/ 代表的权重以此提升 0.1,降低的规则也同理。
直接使用 (提词:权重) 的方式会更加简单。
这里的权重也可以理解为「程度」。
Sampling method 采样方法
方法有很多种,具体的区别和优劣需要在不同的情况下进行尝试总结才能得出自己的心得,一般使用默认的选项即可。
对于纯粹的生成任务,通常 DDIM 会比较稳定。而转换任务,Euler/Euler a 可能更合适。
Sampling steps 采样步骤长
一般来说,使用默认值 20 即可产生不错的效果,如果有必要,也可以尝试修改为更高的数值来提升细致程度,例如 24 或 30。数值越大越耗费性能,但并不一定越细致,太大的数值也可能和太小的数值效果差不多。
Batch 批次
设置 Batch count/Batch size 可以定义生成的批次数量、每个批次的图片数量。批次的主要作用是为了多生成一些图像用于筛选,因为有时候你生成的图片可能不太理想,甚至存在严重的错误。
CFG Scale/Denoising strength 提示词引导系数/重绘强度
CFG Scale 你可以理解为提词的重要性系数或倾向程度,设置为 0 则被忽略。
Denoising strength 则可以理解为原图的重要性系数,设置为 0 则不做改动,设置为 1 则忽略原图。
Seed 种子
Seed 为 -1 的话是生成一个随机数,这个随机数影响画面的内容。在 WebUI 中,允许你使用上一个 Seed 值,以便在生成效果不理想时,重新生成尽可能相近的结果来进行筛选。
Styles 风格/提词预设
准确来说是一些提词预设,比如我有一组提词,我觉得很多情况下都可以使用,那么我将它们保存为预设,下次直接填充进来:
good anatomy, cinematic lighting, ultra-detailed, beautiful detailed sky, detailed Tokyo street, professional lighting, photon mapping, radiosity, night, outdoors, (realistic, photo-realistic:1.37), physically-based rendering使用时,只需要在 Styles 菜单中选择对应的预设,并点击上方倒数第二个 Apply 按钮将其中的内容加入到提词栏中。
文件名
| Pattern | Description | Example |
|---|---|---|
|
Seed |
|
|
Steps |
|
|
CFG scale |
|
|
Sampling method |
|
|
name of the model |
|
|
Hash of the model |
|
|
Image width |
|
|
Image hight |
|
|
Name of the chosen Styles |
|
|
Date of the computer in ISO format |
|
|
Datetime in "%Y%m%d%H%M%S" |
|
|
Datetime in specified |
|
|
Datetime at specific |
|
|
Prompt without Styles |
|
|
Prompt with Styles |
|
|
Prompt with Styles, Space bar replaced with |
|
|
Prompt with Styles, Bracket and Comma removed |
|
|
The first 8 characters of the prompt’s SHA-256 hash |
|
常见错误
图片修正
如果生成的图片出现错误,比如多了一条腿,怎么样修复呢?
首先,选择和生成时一样的模型。如果不是生成的图片,选择一个你认为合适的模型,或者下载一个通用的 v1.5 inpainting 模型,并在 WebUI 中选中。
这时候,切换到 img2img 标签,选择 Inpaint 局部绘制 并选择出现错误的图片,然后将错误的部分用画笔涂抹掉。如果你还有此前生成时的 seed 值和提词信息,也一并填写到对应的位置,然后修改输出图片的尺寸使其与原图保持一致。
接下来就可以生成了。
为了方便筛选,你可以设置 Batch 批次为 2 至 4 次,或者单批次 2 至 4 张。